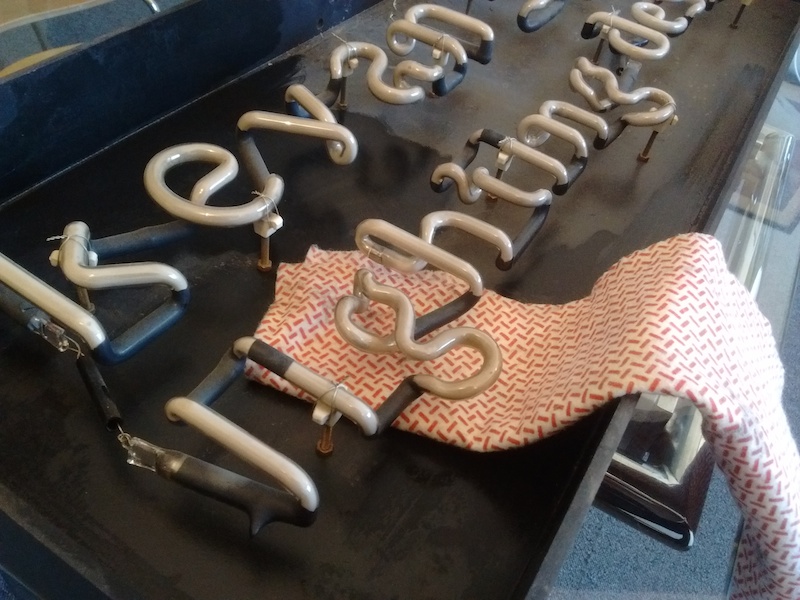
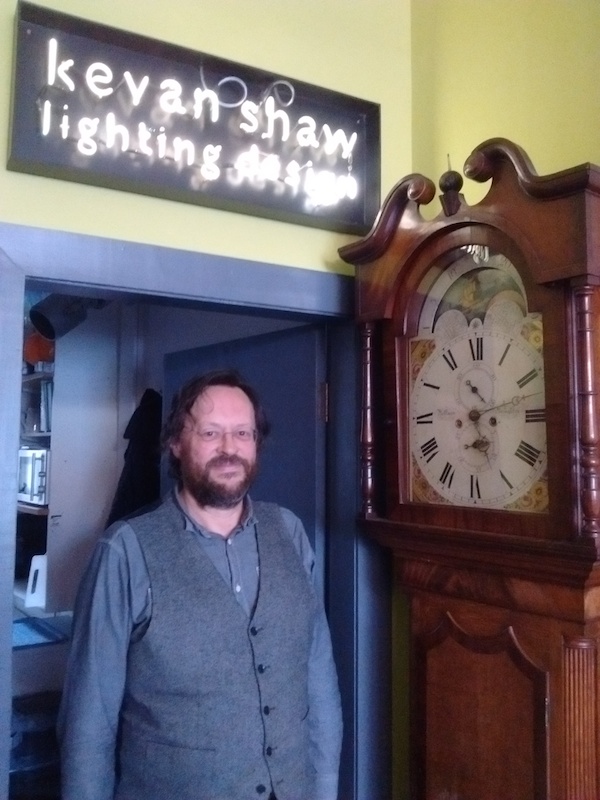
Back when Kevan first started KSLD as Kevan Shaw Lighting Design some 20-odd years ago, he had a custom neon sign created. Visitors to our office may have noticed its absence over the last few months as it was away getting restored and repaired. The sign is now back, but needs a good clean.

The sign has returned to us, but unfortunately our restorer, Kemps Architectural Lighting, was hit by the terrible floods that plagued North England and the Scottish Borders this past winter. We were actually quite fortunate, as this light is attached to a wooden frame, and so he said he just walked in to find it floating in the workshop. While I’m sure he cleaned it up significantly and had to do additional repairs because of the flood damage, it still came to us a touch grimy.

You can see the levels of dust and water spots on the frame.

The 20-odd year old neon sign needed cleaned.
Cleaning a neon sign can be rather delicate work. You don’t want to damage the delicate bulbs, and in the case of this sign, damage any connecting wires. Nor do you want to use harsh chemicals that might damage the paint on the frame, the paint on the tubes, or the tubes themselves.
The tools used for this clean were an air duster, a soft cloth, dish soap, warm water, and some paper wipes.

First as much loose dust as possible was removed by using the air duster.
Then came the soft cloth (no loose fibres to catch on wires sticking out) with warm water and dish soap. Cleaning had to be careful and gentle.
To get underneath the tubes bolted to the frame, the cloth was folded and dragged under each section, with a motion similar to flossing your teeth.
Cleaning the tubes themselves also provided some challenges. To minimize risk of damaging the tubes, as little physical contact as possible was needed. Rather than holding the cloth and rubbing the tubes, instead the cloth was folded and held some distance away from the tubes, like dusting.
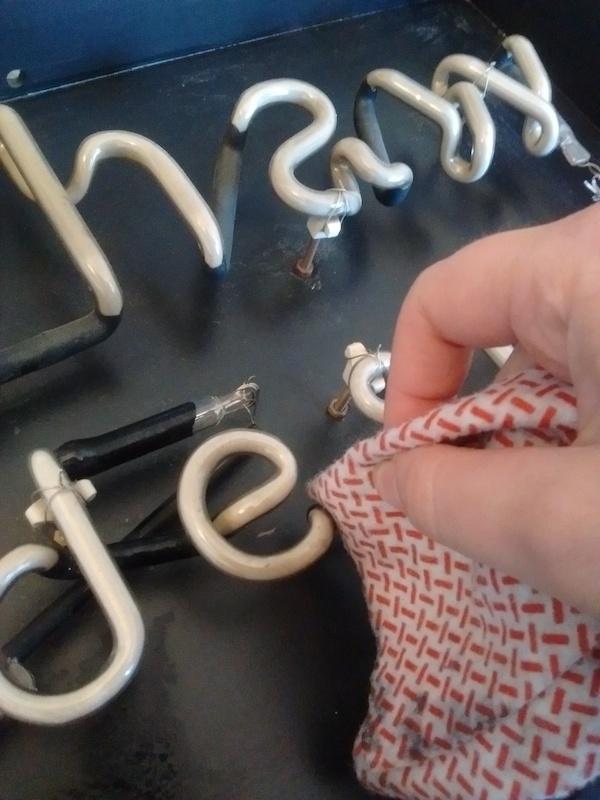
Having the cloth folded also created the opportunity for cleaning the underside of the tubes by placing the tubes in the folds of the cloth and again employing a flossing style technique. Folding the cloth into smaller sections allowed access to tight corners and spaces.
It is important to rinse the cloth often, as if you don’t rinse the cloth then you’re just pushing dirt around.
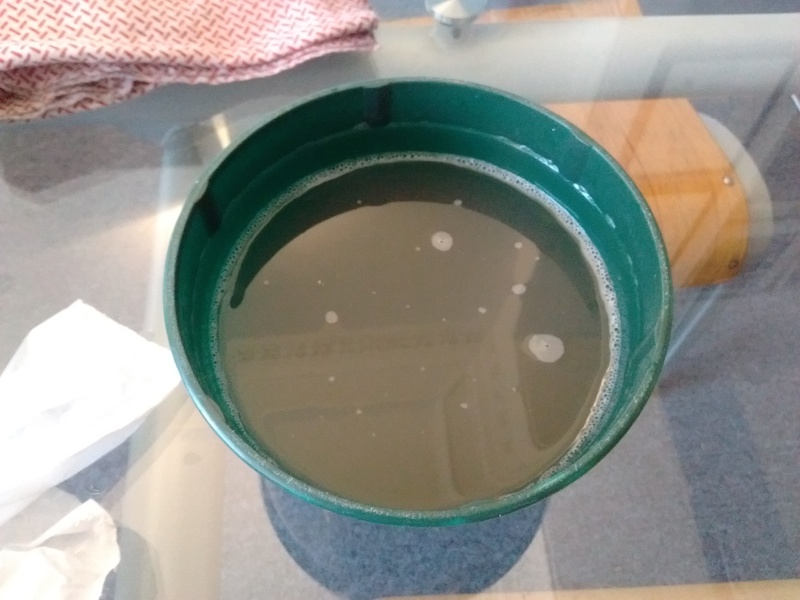
As you can see by the colour of the water, the cleaning was indeed successful.
After using the cloth, smaller spaces and missed spots were tidied up with the paper wipes. These wipes are the ones you use for cleaning electronic things, so have little lint. These were quite useful for sections very close to the frame.
The clean neon sign.
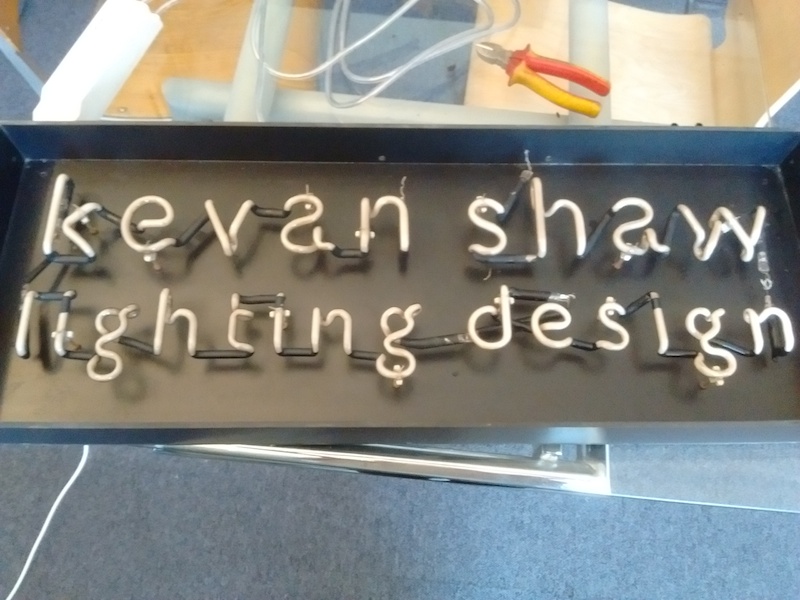

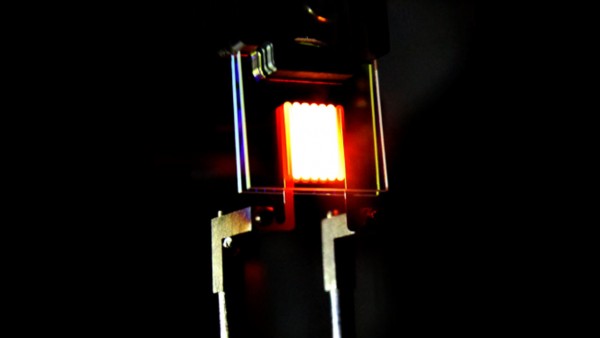
After cleaning and before hanging you need to test the light to make sure it wasn’t damaged in the cleaning process. Apparently some neon signs which are really dirty can be soaked and washed in water. That type of cleaning would require appropriate drying time to reduce risk of electrical problems. As this was dry-wiped, there was little moisture on the light and frame, so it was ready to test very quickly.
The light works! And is clean!
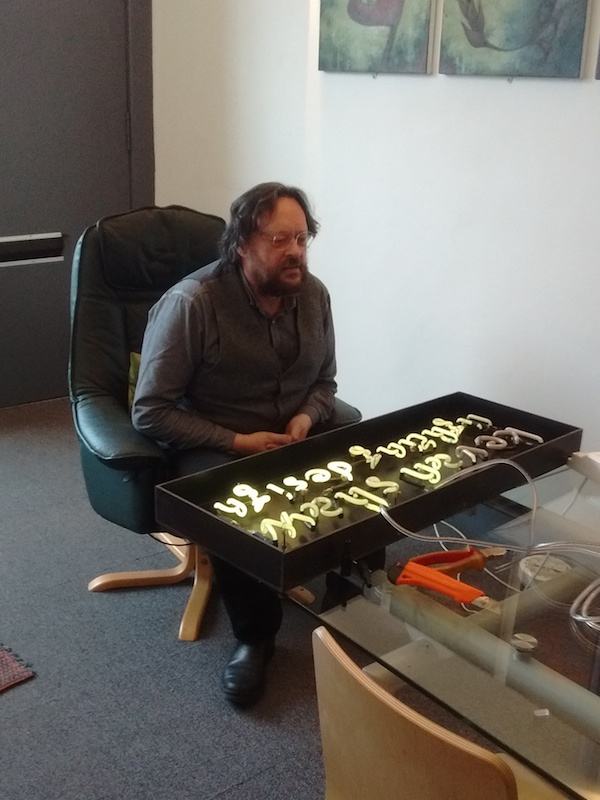
Get your qualified individual to install the light in its location. Here, that’s Kevan installing the light back where it was before.

And now the light is completely functional! The word “design” was re-blown (topped up), and is brighter than the others, but you can clearly see that each letter is lit, albeit in different brightness. Because the light hasn’t been on for some month, this should improve with more constant use.
Thanks to Becky for cleaning the light, Kevan for hanging it, and Kemps Architectural Lighting for restoring and repairing it. KSLD always recommends that you have a qualified professional service, restore and repair your neon signs.
More Blogs